Follow these simple steps in order to create a bootable USB drive from your MAC computer:
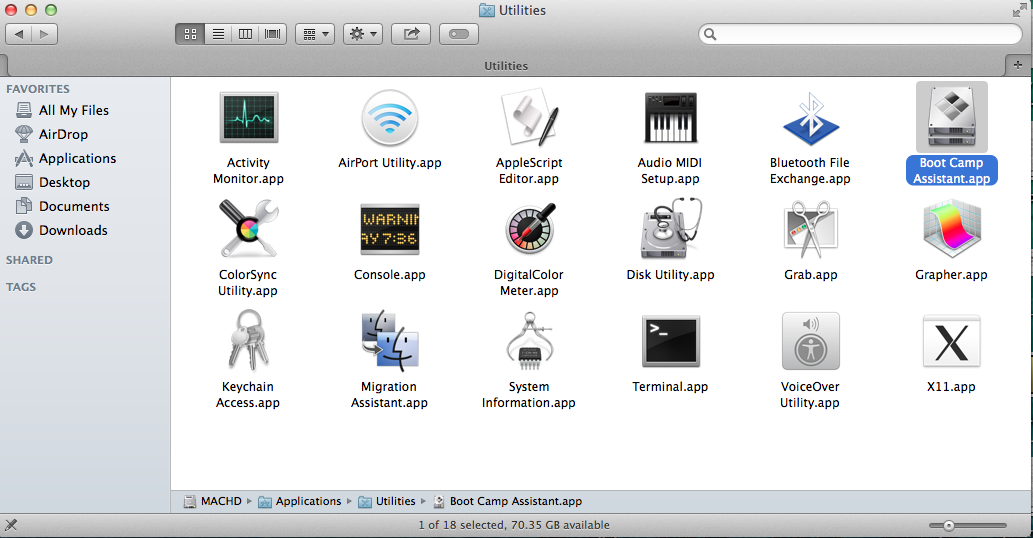
1 On your MAC go to your Applications > Utilities and double click on the Boot Camp Assistant.Requirements:
- Windows 7/8 x64 iso (Note: x86 and Mixed iso files are not supported)
- At least 8GB USB memory stick
- Your MAC computer
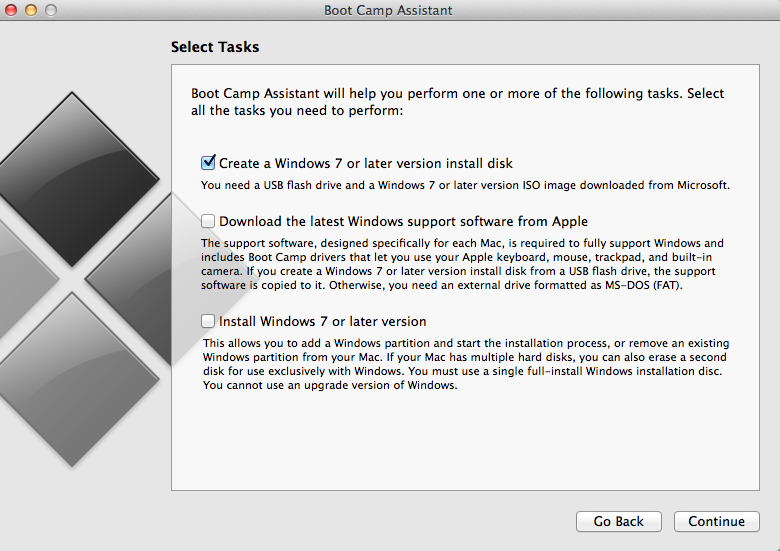
 2 When Boot Camp Assistant loads, on the first screen click Continue and then select only the first option which says “Create a Windows 7 or later version install disk” and click Continue.
If you do not see this option move to the next step, otherwise go to step 8.
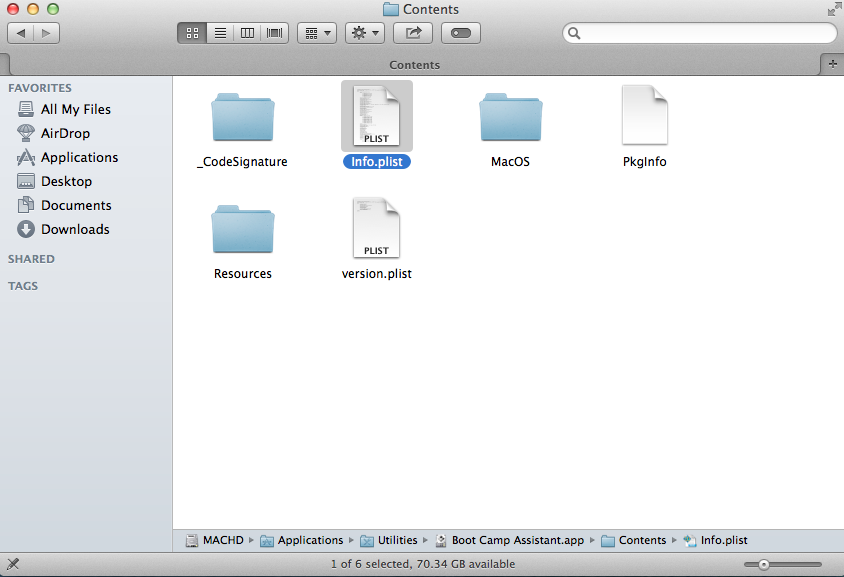
Do this in order to have a backup of this file in case something goes wrong after editing this file.
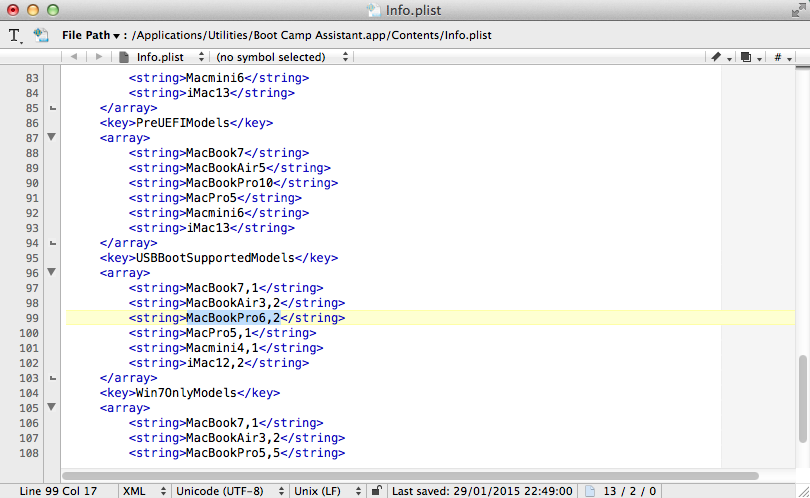
Underneath USBBootSupportedModels you will see the declared versions of MAC computers (i.e. MacbookPro7,2 , iMac12,2 etc) that support Creating bootable USB drives. The word (i.e. MacbookPro) indicates the Model of the computer and the number (i.e. 7,2) the version.
If you see your computer’s model in this list, it means that your computer version is older than the declared number.
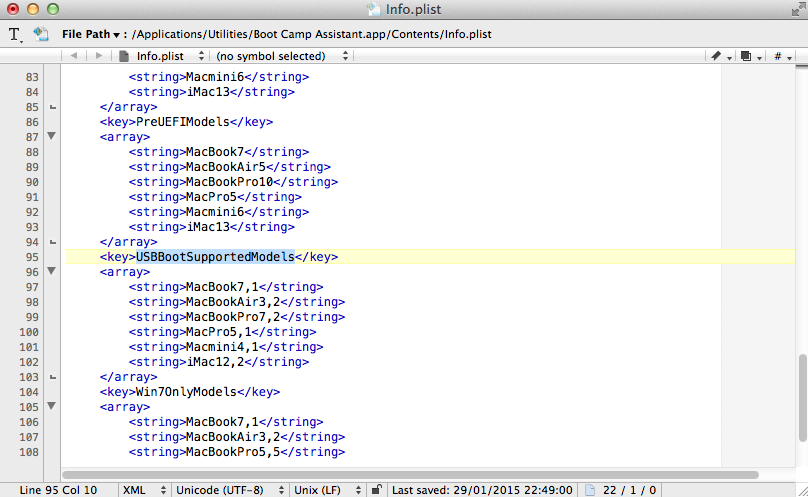
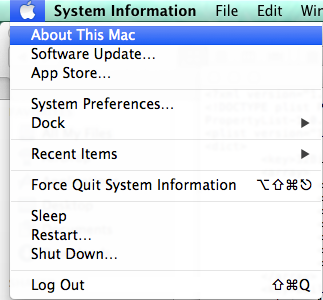
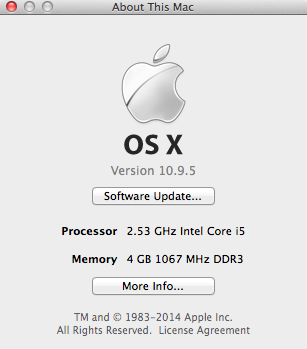
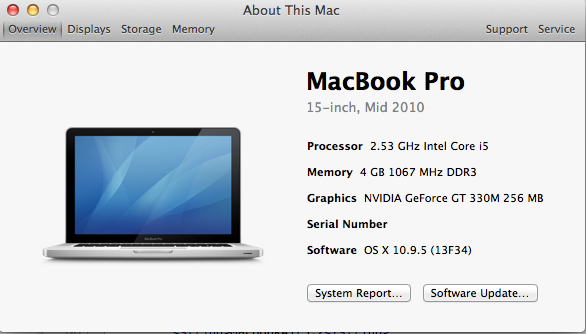
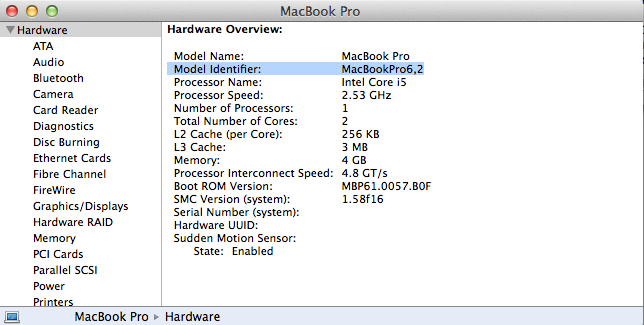 6 Then Copy the Model Identifier and paste it in the Info.plist file under the PreUSBBootSupportedModels key.
Make sure that your computer model is written on the list only once (i.e. If your Model exists replace it with the correct number and do not make a duplicate with two different model numbers).
Finally Save the Info.plist file (You may requested to login in order to save the file).
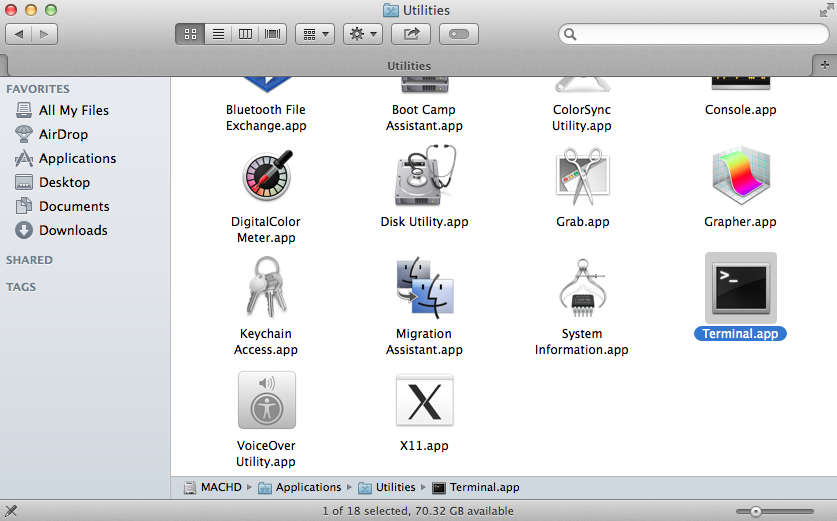
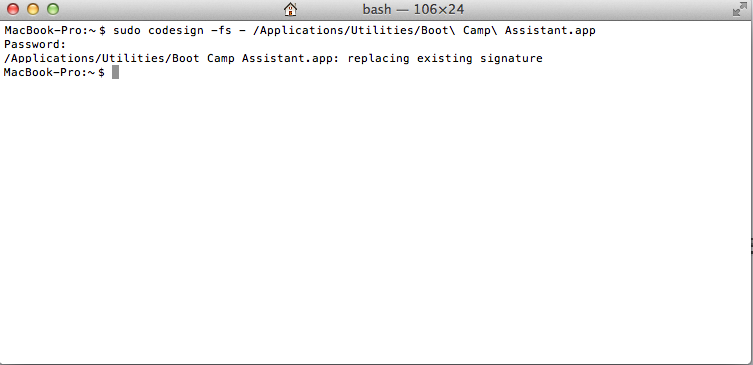
Then write the following command into Terminal (it will ask you to enter your mac password to proceed). This command resigns the Boot Camp Assistant so that it runs with the new Info.plist.
sudo codesign ‐fs ‐ /Applications/Utilities/Boot\ Camp\ Assistant.app
8 On the Boot Camp Assistant with the “Create a Windows 7 or later version install disk” selected, click Continue. It will ask you to plug in your USB memory stick if it is not already plugged in.
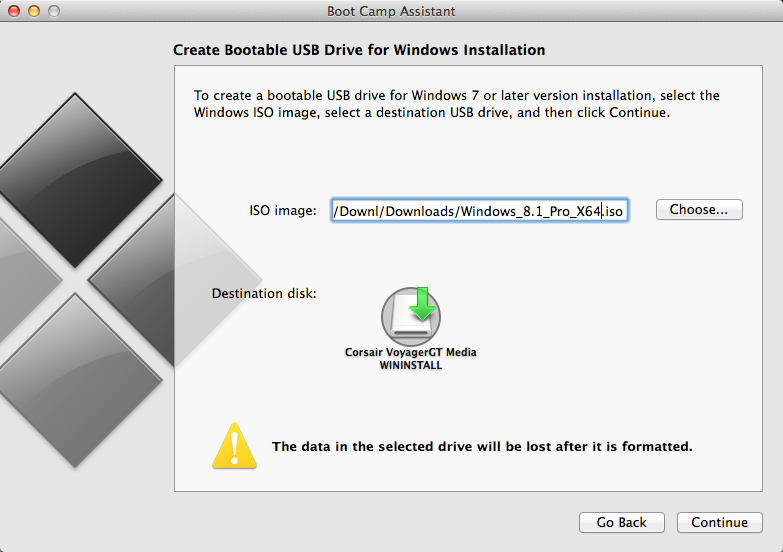
Then locate the .iso file on your mac and click Continue (Note: All Data will be lost from your Memory stick).
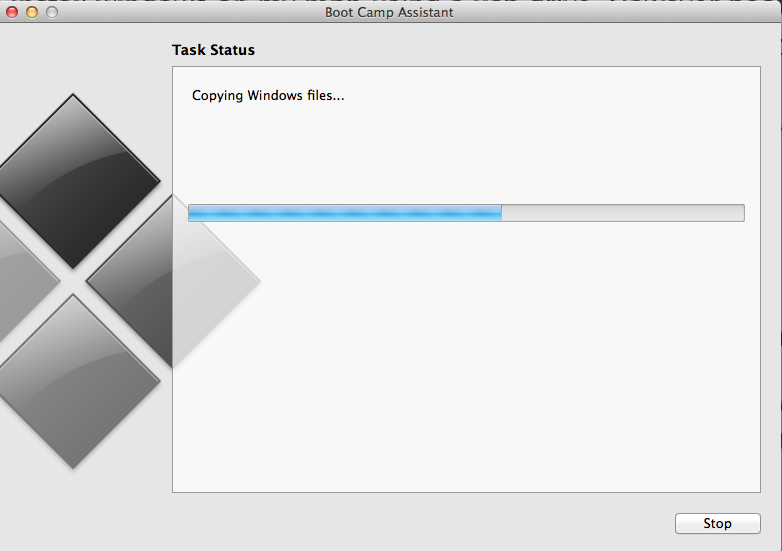
9 Finally wait for the process to finish and you are DONE.
Enjoy!!

1. Remove any additional files you might have created inside the content folder (like having the original left inside there side to side to the new .plist
2. Then enter the command like this – i had this issue on serveral machines running different OSX versions.
sudo codesign -f -s – /Applications/Utilities/Boot\ Camp\ Assistant.app
Model: MacBookAir3,2
OSX: 10.9.5
My plist did not have a USBBootSupportedModels key, just a PreUSBBootSupportedModels. I removed the “Pre”, resigned the file and now it shows that option. 🙂
(though still working out why the file copy is failing)
what i do .you need 1)screwdriver 2)normal laptop dvd drive ,3)windows 7 installation disk .just remove internal super drive remove laptop dvd and insert windows 7 dvd on it and connect to mac install normally through boot camp…..mid 2010 imac is a shitt version imac i ever seen..!@@@##$$%$%%^
This error:
MacBook-Air-de-Barreiro:~ Barreiro$ sudo codesign ‐fs ‐ /Applications/Utilities/Boot\ Camp\ Assistant.app
Password:
Usage: codesign -s identity [-fv*] [-o flags] [-r reqs] [-i ident] path … # sign
codesign -v [-v*] [-R testreq] path|[+]pid … # verify
codesign -d [options] path … # display contents
codesign -h pid … # display hosting paths
Why?
Same. Any ideas?
OSX 10.10.5
Followed the steps. WORKED GREAT. THANKS.
You need a developer account to change info.plist file otherwise your bootcamp will crash.
How long it takes?
works like Magic !!
Thanks Mate !!
For all those guys who get the “duplicate file” creation pop up.
Just copy the info.plist onto your desktop, edit it the way u want and then copy it and paste it into the content folder.
For the guys having trouble with “Duplicatating files”, you can copy the original file, then update the Info.plist from Terminal through the following command: ‘sudo nano Info.plist’ (obviously without quotes).
This command updates the file directly and won’t complain about you not being the owner
Edit the file directly in vi, open Terminal, sudo su – (type password) and:
vi /Applications/Utilities/Boot\ Camp\ Assistant.app/Contents/Info.plist
Hi.
Like all good instructions this instruction misses a step, and that step is driving me mad. So, easy bit getting a duplicate file to type in all the changes, but WHAT THEN? Do i save the duplicate as info.plist? If I do at what stage do i input the terminal command, beforeclicking save, or after i have saved and been told that i must replace the file?
There is an informative step missing. The lucky ones that hit the correct sequence say – hey what a great fix – but those, like me are left trying all the possible variations until you begin to think this was an april fools joke..
Please please can someone fill the gap.
I can’t edit the file or place the new one back in using terminal as it says I don’t have permission to.
Thanks! , it works fine.
Hi i followed all the steps but it still says no bootable device. What do i do?
ok so where do i save the duplicate info.plist?
i made a mess of this, can someone help me get it back to the start so i can redo the steps