
Follow these simple steps in order to create a bootable USB drive from your MAC computer:
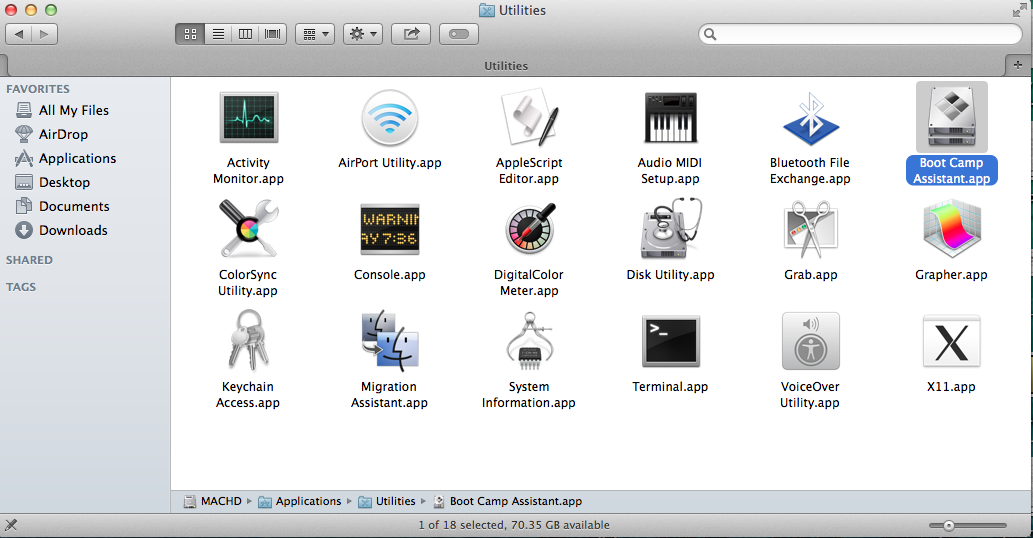
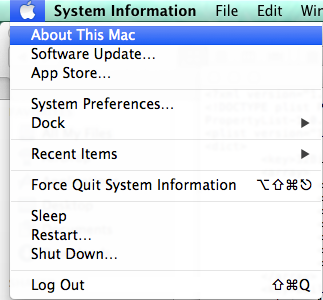
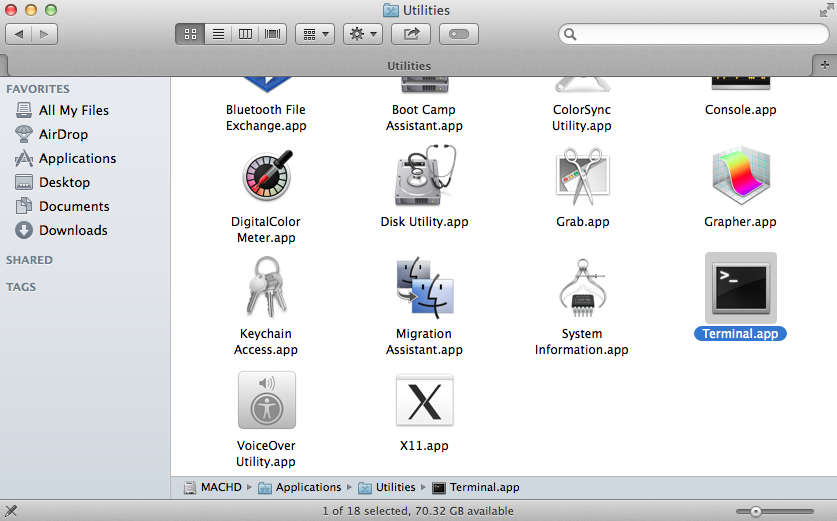
1 On your MAC go to your Applications > Utilities and double click on the Boot Camp Assistant.Requirements:
- Windows 7/8 x64 iso (Note: x86 and Mixed iso files are not supported)
- At least 8GB USB memory stick
- Your MAC computer
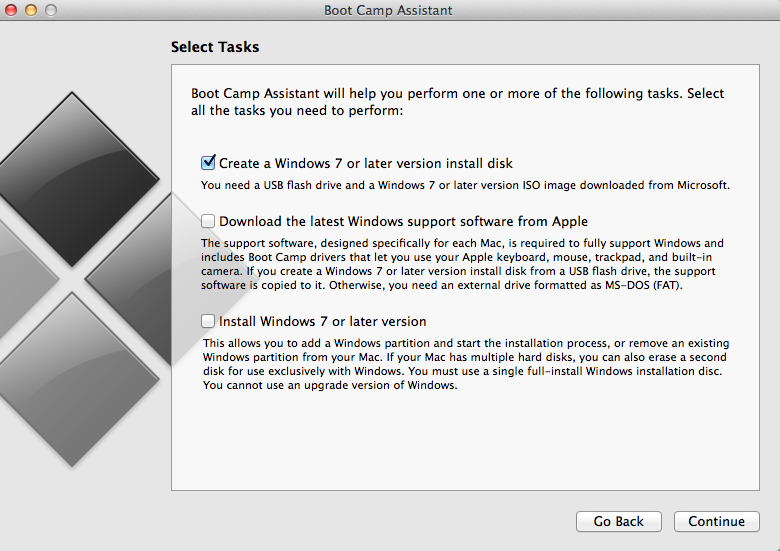
 2 When Boot Camp Assistant loads, on the first screen click Continue and then select only the first option which says “Create a Windows 7 or later version install disk” and click Continue.
If you do not see this option move to the next step, otherwise go to step 8.
Do this in order to have a backup of this file in case something goes wrong after editing this file.

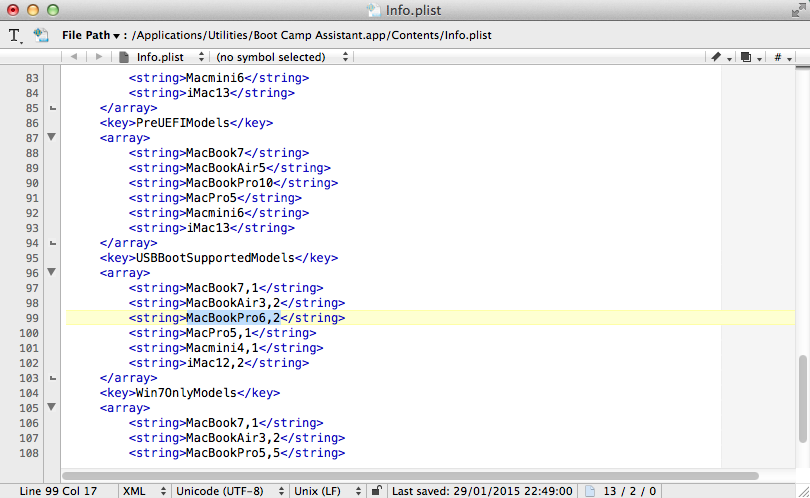
Underneath USBBootSupportedModels you will see the declared versions of MAC computers (i.e. MacbookPro7,2 , iMac12,2 etc) that support Creating bootable USB drives. The word (i.e. MacbookPro) indicates the Model of the computer and the number (i.e. 7,2) the version.
If you see your computer’s model in this list, it means that your computer version is older than the declared number.
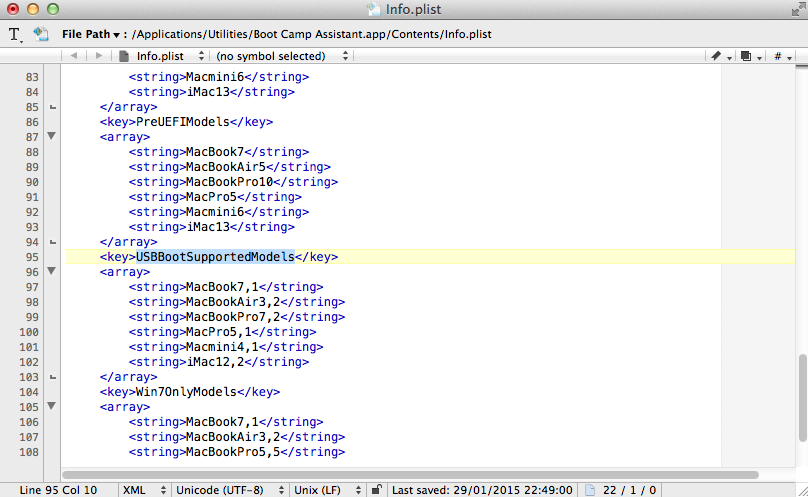
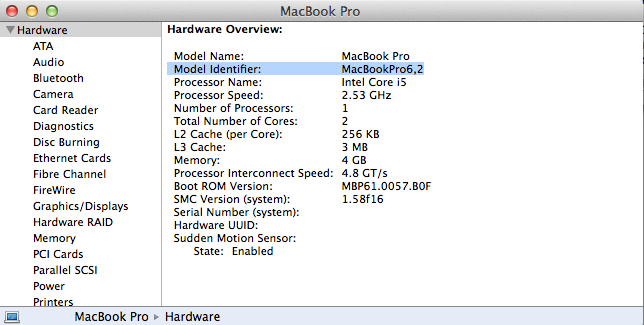 6 Then Copy the Model Identifier and paste it in the Info.plist file under the PreUSBBootSupportedModels key.
Make sure that your computer model is written on the list only once (i.e. If your Model exists replace it with the correct number and do not make a duplicate with two different model numbers).
Finally Save the Info.plist file (You may requested to login in order to save the file).
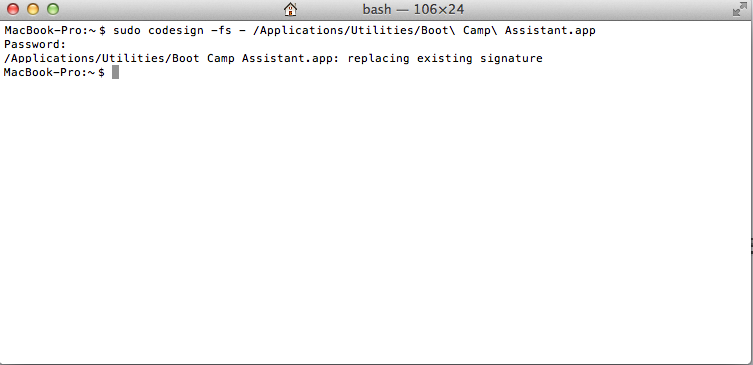
Then write the following command into Terminal (it will ask you to enter your mac password to proceed). This command resigns the Boot Camp Assistant so that it runs with the new Info.plist.
sudo codesign ‐fs ‐ /Applications/Utilities/Boot\ Camp\ Assistant.app
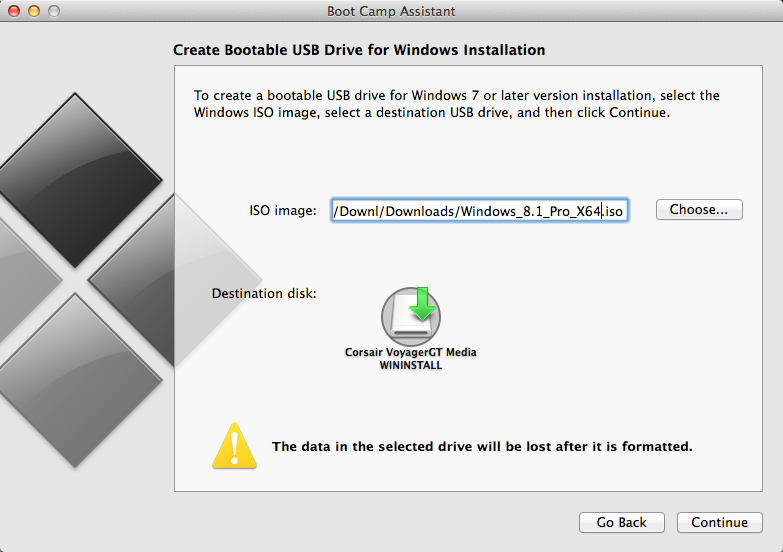
8 On the Boot Camp Assistant with the “Create a Windows 7 or later version install disk” selected, click Continue. It will ask you to plug in your USB memory stick if it is not already plugged in.
Then locate the .iso file on your mac and click Continue (Note: All Data will be lost from your Memory stick).
9 Finally wait for the process to finish and you are DONE.
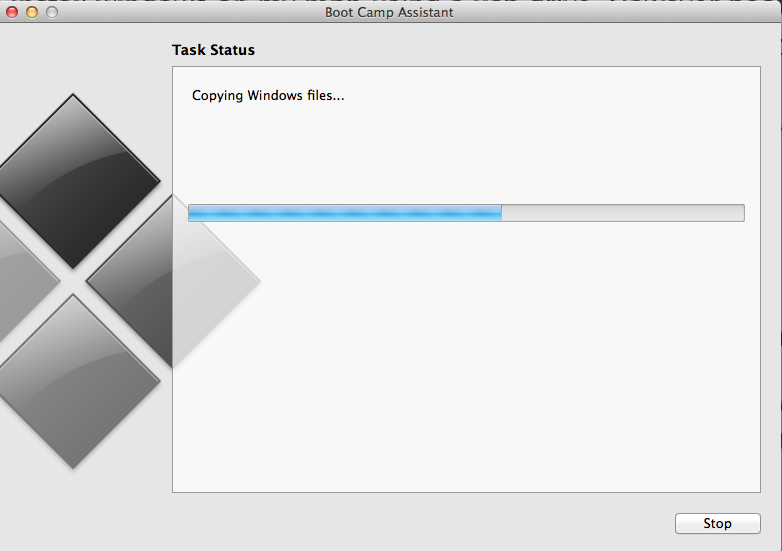
Enjoy!!
I followed this guide on macOS 10.13 (High Sierra) and my solution to SIP was:
Copy the Boot Camp Assistant.app file to my Desktop
Edit the Info.plist file in THAT file
Resign it using ‘sudo code sign -fs – ~/Desktop/Boot\ Camp\ Assistant.app’
Run the assistant
Profit